
How to Get into BIOS on an HP Laptop
Are you trying to How to Get into BIOS on an HP Laptop? This article will show you How to Get into BIOS on an HP Laptop. You can find How to Get into BIOS on an HP Laptop by following these easy steps:
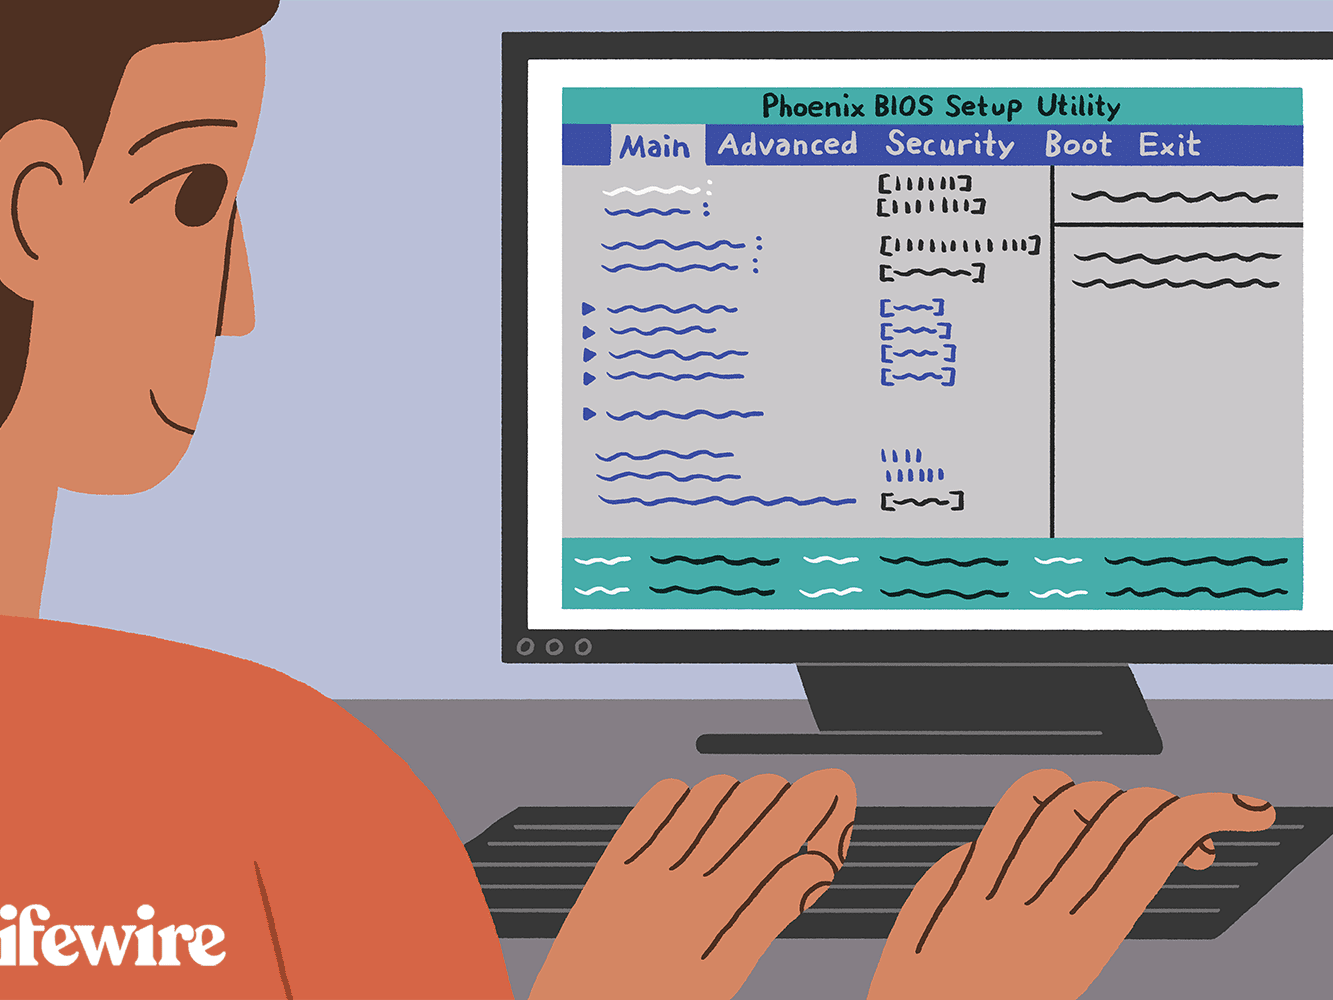
How to get into the Bios for a laptop
Before anything, you first need to know how to get into the Bios of your computer. The BIOS is the first system you see after turning on the computer, and it contains a lot of important information about your PC. The BIOS (Basic Input Output System) controls the boot process of a computer and is the first thing that runs when your PC starts. It runs automatically when you power on your computer and checks the hardware. It displays information such as:
Each computer may have a different BIOS set-up, but they all provide four basic modes for accessing the computer’s software. These are:
- Pre-UEFI, before 2008 for most models
- UEFI enabled models, 2008 to mid-2011
- Shortened enabled models, 2008 to 2011
Older models will present a prompt to enter BIOS during boot up.
Newer models only offer the option of entering BIOS after you have successfully booted into Windows NT or using either F9, F10, or F11 as discussed in the instructions following this paragraph.
Pre-UEFI: Before 2008 for Most Models
– Turn on the computer.
– If it’s a desktop, press F12 to enter BIOS mode or if you have an HP laptop, then use the key that is located next to Esc in order to get into Bios mode. This could be labeled as ‘Boot menu’ for example (on some models). However this varies depending on your PC manufacturer and model. (On newer laptops with Windows Vista or later installed these keys may not work)
– You should see a message similar to “Press DEL for Setup.” Pressing del enters setup from which you can toggle through each different setting until you reach one called “Entering SETUP” under MISC at bottom of screen If there are no messages on your screen, you can press F12 or Esc to enter the setup.
– Press delete (sometimes labeled as del) and then select Entering SETUP from MISC at bottom of screen If there are no messages, you can use F12 or Esc to enter BIOS mode.
– After entering Setup, highlight Security by using arrow keys and pressing Delete key to open security menu options. Highlight User Password by using arrowkeys and pressing Enter key This will prompt for a password which needs to be entered twice in order for it to take effect
UEFI Enabled Models: 2008 to Mid-2011
– Turn on the computer.
– If it’s a desktop, press F12 to enter BIOS mode or if you have an HP laptop, then use the key that is located next to Esc in order to get into Bios mode. This could be labeled as ‘Boot menu’ for example but this varies depending on your PC manufacturer and model (On newer laptops with Windows Vista or later installed these keys may not work)
– You should see a message similar to “Press DEL for Setup.” Pressing del enters setup from which you can toggle through each different setting until you reach one called “Entering SETUP” under MISC at bottom of screen If there are no messages on your screen, you can press F12 or Esc to enter the setup.
– Press delete (sometimes labeled as del) and then select Entering SETUP from MISC at bottom of screen If there are no messages, you can use F12 or Esc to enter BIOS mode.
– After entering Setup, highlight Security by using arrow keys and pressing Delete key to open security menu options. Highlight User Password by using arrowkeys and pressing Enter key This will prompt for a password which needs to be entered twice in order for it to take effect
Shortened Enabled Models: 2008 to 2011
– Turn on the computer.
– If it’s a desktop, press F12 to enter BIOS mode or if you have an HP laptop, then use the key that is located next to Esc in order to get into Bios mode. This could be labeled as ‘Boot menu’ for example but this varies depending on your PC manufacturer and model (On newer laptops with Windows Vista or later installed these keys may not work)
– You should see a message similar to “Press DEL for Setup.” Pressing del enters setup from which you can toggle through each different setting until you reach one called “Entering SETUP” under MISC at bottom of screen If there are no messages on your screen, you can press F12 or Esc to enter the setup.
– Press delete (sometimes labeled as del) and then select Entering SETUP from MISC at bottom of screen If there are no messages, you can use F12 or Esc to enter BIOS mode.
– After entering Setup, highlight Security by using arrow keys and pressing Delete key to open security menu options. Highlight User Password by using arrowkeys and pressing Enter key This will prompt for a password which needs to be entered twice in order for it to take effect
Step Two: Navigate the BIOS Menu
After completing the first step, the BIOS should load. You can navigate the menu by using arrow keys. We have a list of other keys that you’ll find helpful here too:
- F1 or F10: Enter Setup at the blue HP logo
- F1: Setup Help
- Esc: Exit Setup
- Up or Down arrow key: Moves the cursor up or down to make selections
- Left or Right arrow key: Moves the cursor left or right to select different menu screens
- + or – Change the values of particulars items
- Enter: Select submenu
- F5: Load and Setup default values
- F10: Save Changes and Exit
The BIOS setup for an HP laptop has a lot of different settings. Some are more important than others but you should go through and be aware of what all is available to tweak, so that if there’s something wrong with your PC or a setting isn’t working the way it was before, you can come back in here to make adjustments.
There are five different tabs available here. You can reset your password, set a Supervisor Password, change the Boot Order or boot priority of your PC’s hard drives.
You can also tweak details like how long before an inactive screen goes to sleep and adjust what keys are used when you type in BIOS setup mode. It may be worth taking some time to go through each tab that is available here depending on which settings are important for your needs- we’ll talk about them briefly below:
- Security – You can choose whether password protection will need a Supervisor Password (F11) or just User Password (Delete key). If you want additional security, it might be wise to use both passwords at once so that no one else other than yourself will have access without being able to enter either password first. Make sure to enter both passwords twice to confirm.
- Boot Order – You can set the order of how your computer will boot up, or in other words where it’ll look for a system disc first and then go on from there This is important if you have more than one hard drive installed so that you know which should be booted when needed. The default setting is “Hard Drive C.” If you only have one hard drive in your PC then this would always show as Hard Drive A, unless you’re installing another new hard drive at some point down the line. How long before an inactive screen goes to sleep? This will determine (in milliseconds) how quickly after sitting idle does your laptop’s screen turn off automatically
- User Password – You can set a User Password (Delete key) It’s important to note that this is the only password necessary for entering BIOS setup mode. You are able to change your user password in Setup, and it will be required every time you log into Windows.
- Boot Maintenance – How long before an inactive screen goes to sleep? This will determine how quickly after sitting idle does your laptop’s screen turn off automatically
- Launch PXE OpROM Policy: Set if computer should boot from network card or not when starting up
- USB Configuration – How many seconds before they PC enters Suspend Mode? Make sure you know what kind of devices work with which settings so that if there were any issues suspending at all times, you’ll know which setting to change.
- How long before an inactive screen goes to sleep? This will determine how quickly after sitting idle does your laptop’s screen turn off automatically
- Boot Sequence: Choose which drive is the first in boot sequence (Primary and Secondary) This can be helpful if you have more than one hard drive installed so that you know which should be booted when needed. The default setting is “Hard Drive C.” If you only have one hard drive in your PC then this would always show as Hard Drive A, unless you’re installing another new hard drive at some point down the line
- F11 or F12: Set a Supervisor Password for BIOS Setup Mode
- F11 – Change Supervisor Password for Entering Setup Mode
How Do I Recover the BIOS on My HP Laptop?
There are several ways to recover the BIOS on an HP laptop.
– Locate and Download a Recovery Image – You can download this recovery image from HP’s website, then burn it to CD or use a USB drive as your bootable media. Next, restart your computer with the cd/usb in the disc tray and wait for instructions on how to enter Setup mode where you will be able to restore default settings and passwords by using F11 (for supervisor password) or Delete key (user password). After restoring default settings and removing security, make sure that all saved data is backed up before proceeding. The process of downloading the images could take several hours depending on internet connection speeds; so plan accordingly before starting anything!
– How long does it usually take to recover
It typically takes about five minutes for HP to recover a laptop’s BIOS; however, it may take longer depending on the computer model or if there are viruses present.
– How soon can I start using my laptop again?
HP recommends that you wait at least one hour before turning your HP back on after recovering its BIOS settings and passwords so that all of the changes made will be properly saved.
Several factors can corrupt your computer BIOS. These include:
- Environmental factors (like a power outage or surge)
- Failed BIOS upgrade
- Computer viruses.
Signs of a Corrupted BIOS
Some of the symptoms that may indicate a failed BIOS are:
- Windows is not starting
- Computer freezes or crashes frequently
- Inability to boot from CD Drive, external hard drive, USB flash drives.
- The laptop never recognizes a new battery after it’s charged for the first time.
- The power or charging light blinks consciously
- The computer displays the BIOS APPLICATION ERROR message
- The computer displays a blank screen when you turn it on
If any or some of these happen, it is possible that the BIOS may have been corrupted.
The key to solving these problems starts with a simple restart of your computer, but if you find yourself in need of more help or still experiencing issues after following this solution, please contact HP Technical Support for additional advice on how to recover your laptop’s BIOS settings and passwords. But since you’re here, let me explain how you can do it on your own.
BIOS Recovery Process
One good aspect on HP laptops is that they have a BIOS recovery process that is fairly straight forward. The BIOS restore process is done through a bootable CD or USB. How you go about this will depend on whether your computer has an optical drive, like a CD-ROM or DVD player, for accessing the BIOS Boot Menu (also known as F12).
If it does not have one: You can use the HP maintenance utility to create a bootable USB device that contains all of the necessary files needed to restore factory default settings and passwords. All you need is another PC with Windows installed in order to do so. After downloading these two items from Google Drive, extract them both into separate folders and then copy their contents onto your USB flashdrive using Winrar software (or any other program which extracts compressed files)
Once you have copied the files over to your USB, open up HP’s maintenance utility and select How Do I Recover My BIOS? Then follow the instructions on how to recover BIOS passwords via F11 key (if supervisor password) or Delete key (user password). The process of downloading images could take several hours depending on internet connection speeds; so plan accordingly before starting!
If it does: Insert a CD into your laptop that contains an image file with all necessary software pre-loaded onto it. Boot from the CD by pressing your computer’s boot menu key, F12 on HP laptops and select How to Recover My BIOS from a Disc Image File? Follow the instructions for recovering passwords using Delete or Supervisor Password (as appropriate).
Important Note: Please remember that this process will delete all information stored in your hard drive including saved files and folders, emails, music downloads, documents, pictures and videos. You may also need to reinstall Windows if it was not installed when you bought your laptop; otherwise it may cause registry errors which can be difficult to fix without backing up first.
Lastly – Do Not Panic! Losing access to one’s personal data is frustrating but there are steps that can be taken before giving up completely like creating a backup of the data or trying to guess the password.
Particularly challenging BIOS passwords are those that use numbers with letters, since some combinations may be spelled out in different ways: “Qwerty” might also look like “qwert.” If you can’t remember what a particular character is for, try typing it into Google and see if any suggestions come up. The same goes for punctuation marks not on your keyboard – just do an online search for them!
Conclusion:
It’s important to be prepared for the worst case scenario in order to prevent a potential disaster from happening. Knowing how to access, recover, or install your HP BIOS is a critical step in preventing any future issues from arising – so before you take your next computer to the repair shop, try out these tips for yourself!